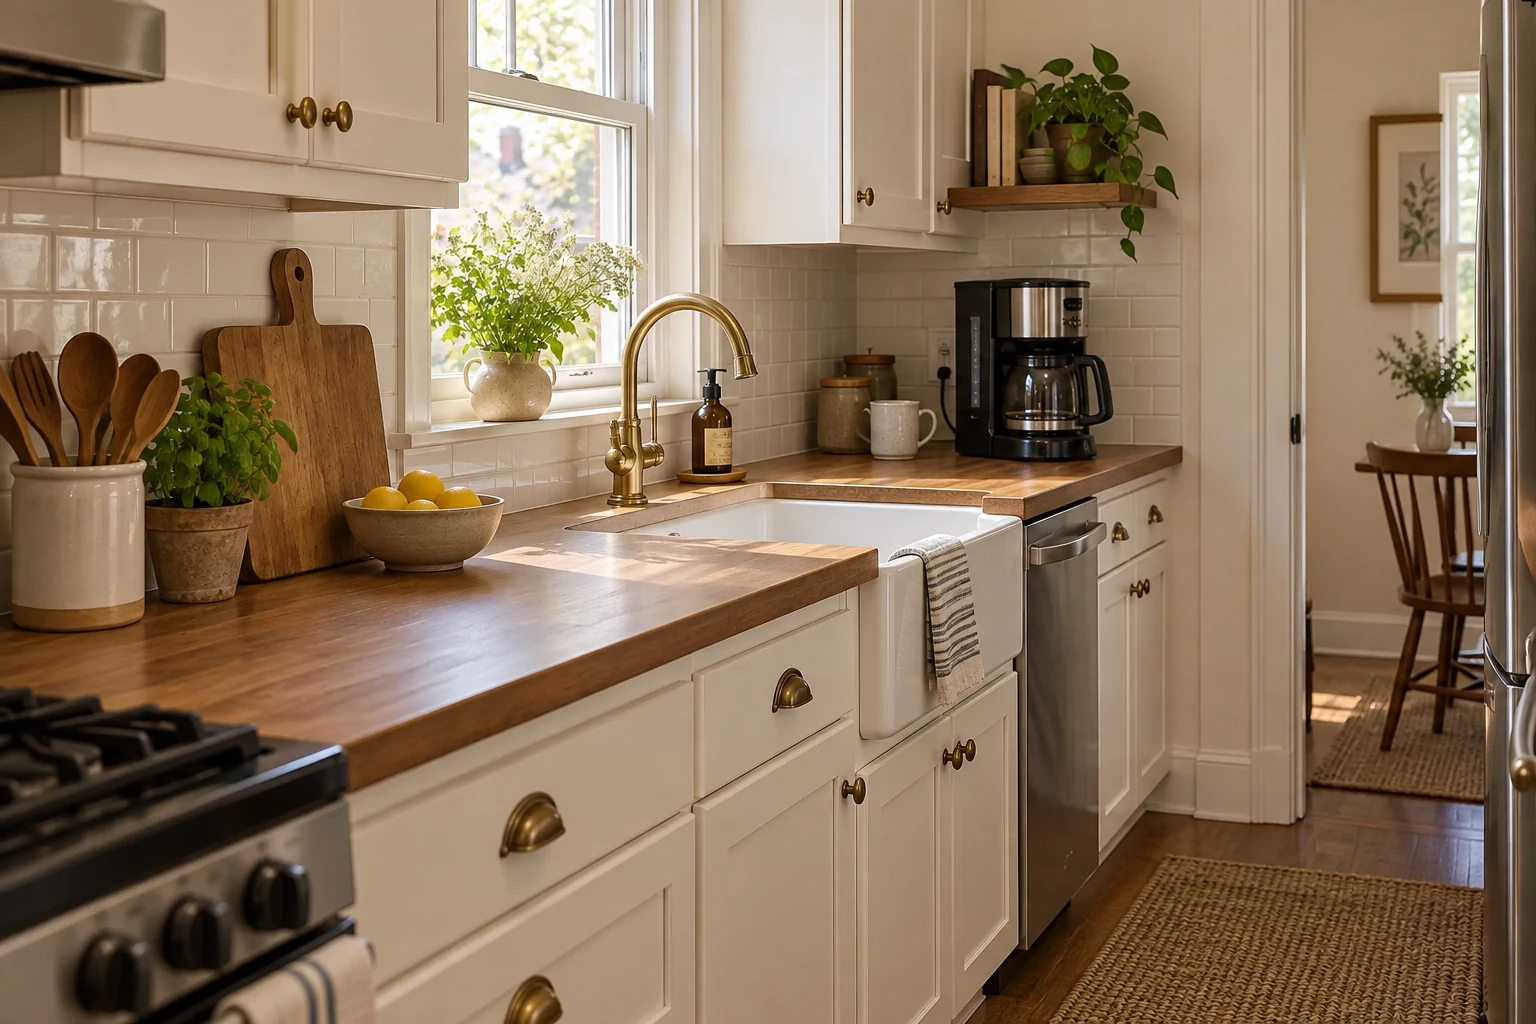
A coffee maker can take over the most useful part of a small kitchen without seeming especially large. The water tank needs to lift out, the lid needs room to open, and the grinder, pods, filters, and mugs tend to spread beside it. Soon, the only counter deep enough for chopping or plating has become a permanent coffee station.
Start by protecting one continuous prep area. Then test the coffee maker in use, not just where it fits while parked. The right position preserves that workspace without making the machine awkward to fill, open, empty, or clean.
Jump to a section
01
Decide which counter space must remain free
Choose the prep area before choosing the coffee-maker location. Pay attention to where you set down groceries, chop vegetables, assemble lunches, or place a hot pan. That surface needs enough uninterrupted width and depth to do the job. Three narrow scraps of counter around a sink and stove are no substitute for one workable stretch.
If the coffee maker currently occupies that stretch, move it temporarily and prepare an ordinary meal. Note which counter you reach for first and which cabinet or appliance doors need to open around you.
A machine at the inside corner of an L-shaped counter can consume the depth where the two runs meet. Beside the refrigerator, it may obstruct the door or eliminate the landing place for groceries. Beside the stove, it may compete with pan handles and ingredients.
Mark the protected prep area with painter's tape for a day. As with testing an eating place in a small apartment, reserve room for the activity and its movements, not just the object's closed dimensions.
02
Measure the coffee maker while it is being used
The dimensions on the box describe the parked machine. They may not describe the space required to make coffee.
Measure the width, depth, and height, then repeat with every moving part in its working position. Open the top lid. Remove the water tank, brew basket, pod bin, drip tray, and carafe. Raise any lever and place your tallest mug beneath the outlet. If the machine must slide forward before a lid or tank can clear the upper cabinet, include both its parked and working positions.
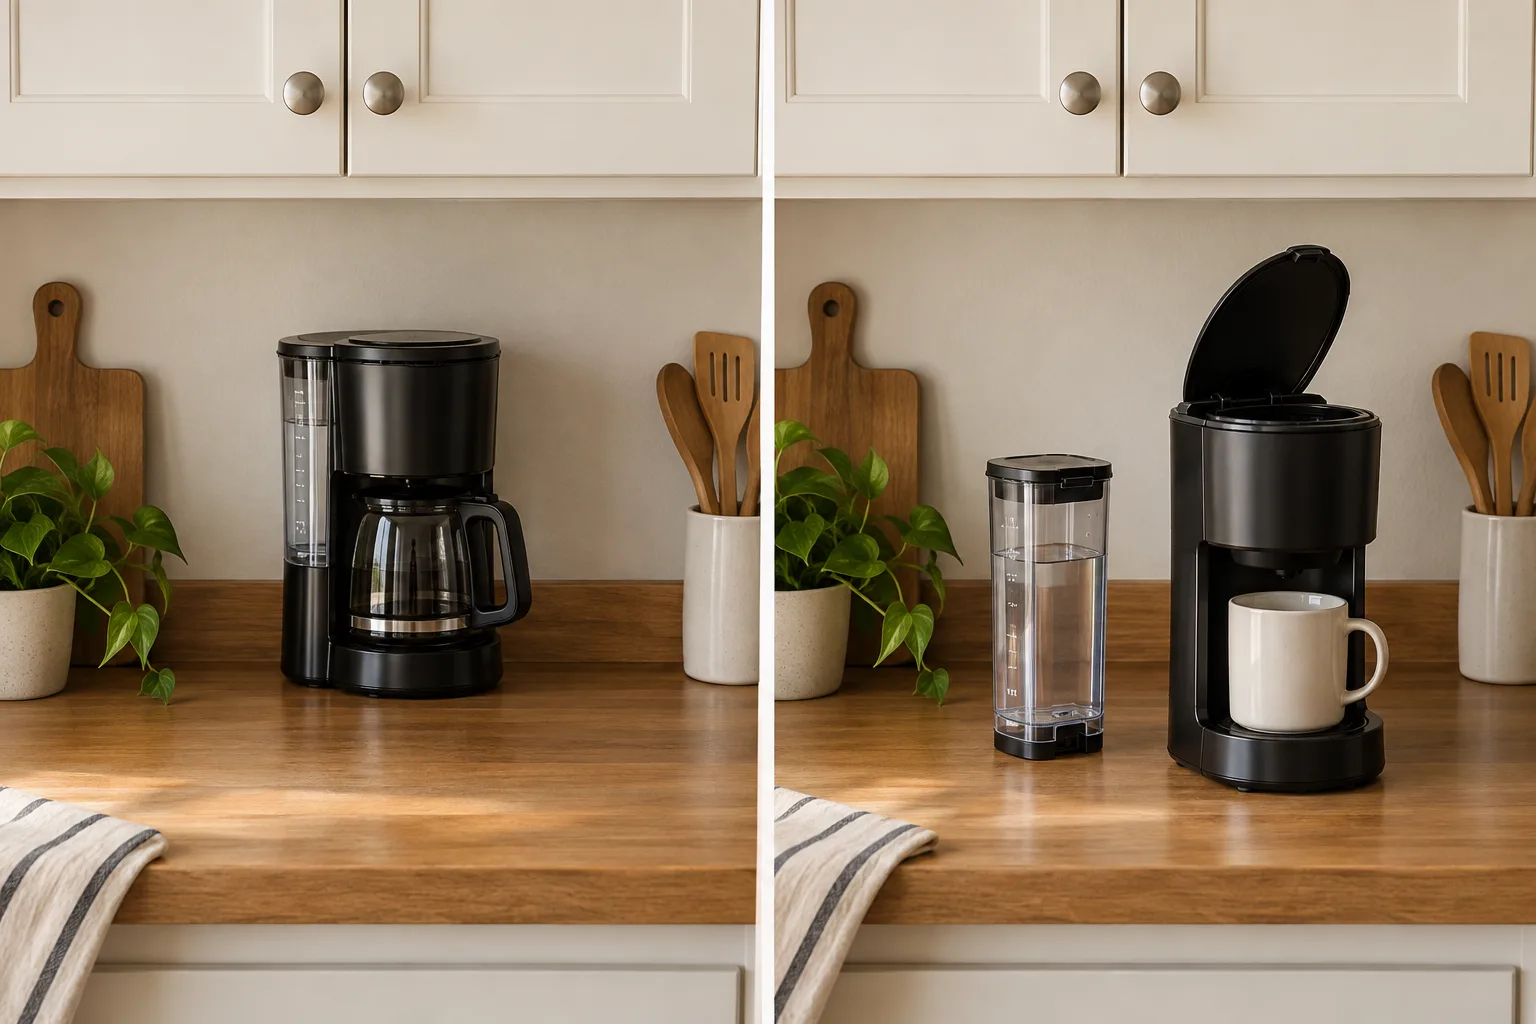
Tape that coffee-maker operating footprint onto the counter. If the height is difficult to picture, use a box or a stack of books. Open the cabinet above it, the drawer below it, and nearby appliance doors. A location fails if the machine must be moved every time a door or drawer opens.
The exercise also shows whether an appliance tray would help. A tray can ease movement between parked and working positions, but it cannot create clearance, make an unsuitable surface safe, or reduce the operating footprint. Try the motion before buying anything.
03
Trace the fill, brew, pour, empty, and clean route
Choose a location for the entire coffee routine, not only the brewing moment. Follow the steps in the order they happen on a normal morning:
- Fill the reservoir or carry water to the machine.
- Add beans, grounds, a filter, or a pod.
- Place the mug or carafe and start the machine.
- Pour or carry the drink away.
- Empty grounds, pods, and the drip tray.
- Rinse the tank, basket, carafe, or other removable parts.
Notice what crosses the room and what must return to the sink. A position near the mugs may still fail if a rear tank cannot come out. Beside the sink, the filling route is shorter, but the cord may be closer to splashes. A dining-area station may free the counter while sending an open carafe through the busiest path.
Keep the machine near the hardest part of the routine to move. A top-fill machine may need clear space above it; a removable tank may need a direct sink route. For an espresso setup, emptying grounds may matter more than keeping every cup beside the machine.
04
Compare four workable placements
Consider these four choices in order, beginning with the one that changes the room least.
Keep it parked outside the prep zone
Leave the machine on the counter if it is used most days and fits on a section that is not needed for food preparation. It still needs enough room to operate without moving other appliances first.
This often works at the end of a counter near the sink, provided it does not interfere with a door, cabinet, refrigerator, or stove.
Park it back and pull it forward for use
A pull-forward arrangement can work when the idle machine fits beneath an upper cabinet but needs open space for filling or brewing. The counter in front must stay clear enough to provide a stable operating position.
Test the movement with a full water tank and the cord in place. Do not rely on a setup that strains the cord, catches on a counter seam, or leaves the machine close to the edge. Check the exact manual before assuming the appliance may operate beneath or inside cabinetry. One Nespresso Essenza Plus manual, for example, explicitly says the appliance must not be placed in a cabinet while in use (Nespresso).
Store it between uses
Storage suits an occasionally used machine, especially when there is a cabinet near the counter. It is less practical for a heavy machine used every morning.
Test the full routine twice, including any cooling and emptying the manual requires. If setup means clearing another shelf or lifting from above shoulder height, the machine will probably remain on the counter.
Check the manual before moving or storing the machine. Breville's Grind Control instructions say to unplug the unit before it is moved or stored, while Keurig's K-Express guide tells users to turn the machine off, unplug it, and empty the reservoir before moving it to another location (Keurig). Your model may give different directions.
Move the whole routine to a nearby surface
An adjacent cabinet, sturdy shelf unit, or cart can return the counter to food preparation. Move the coffee, filters or pods, waste container, and a few mugs with the machine. Splitting them between two rooms creates more walking without removing the clutter.
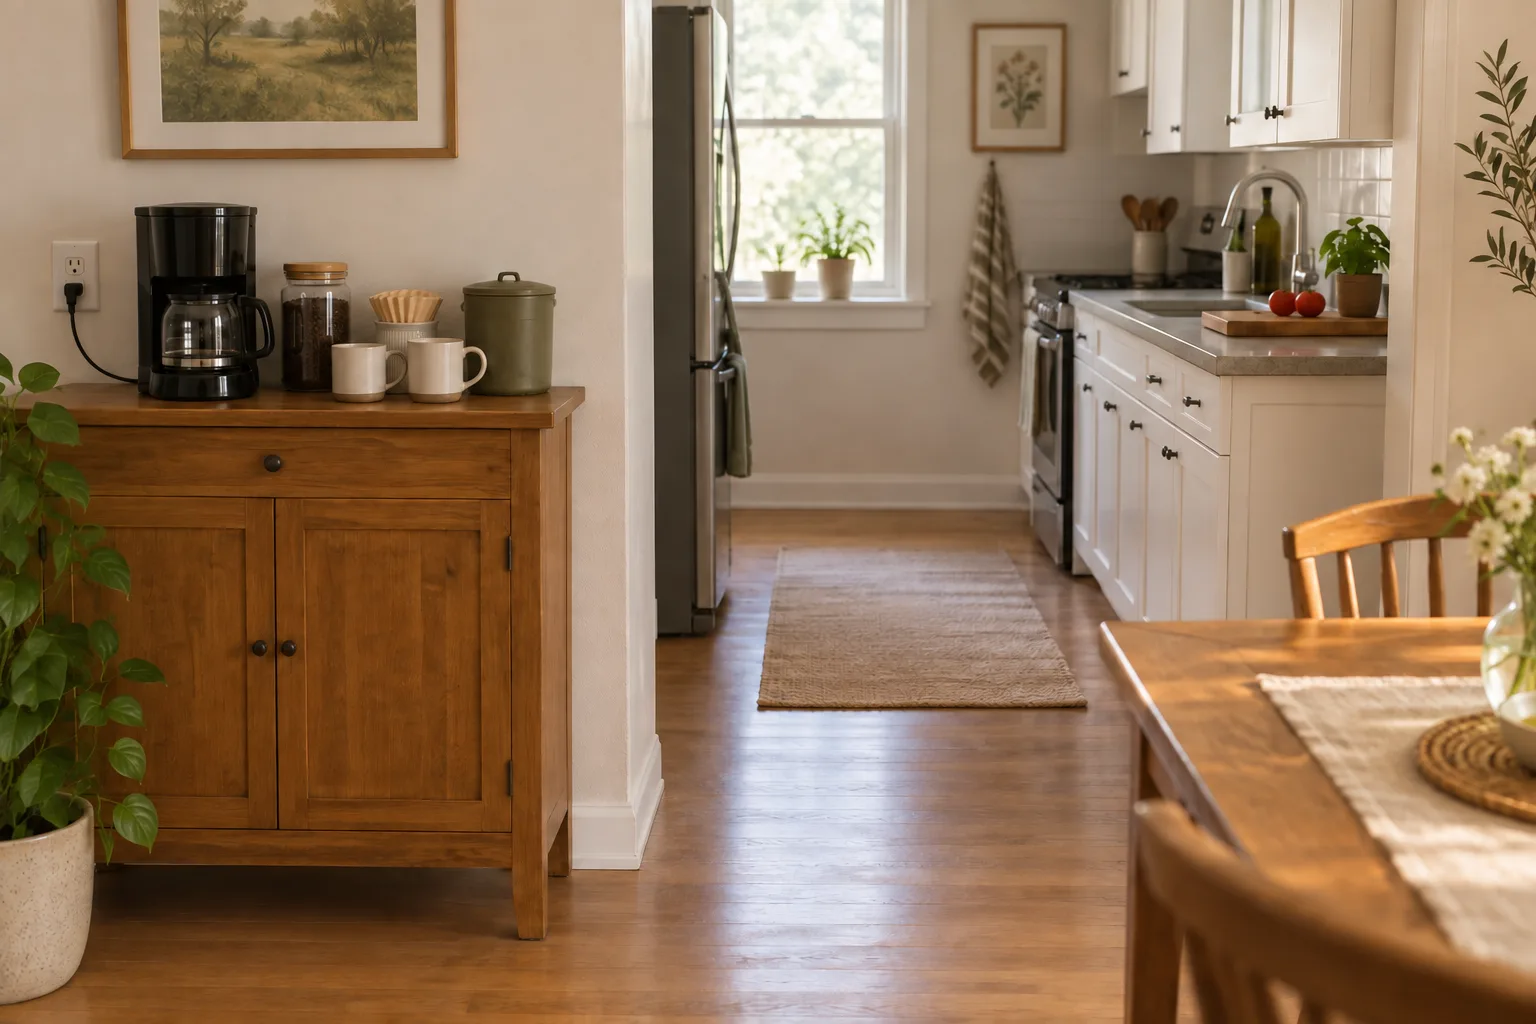
The new surface must pass the same operating-footprint test as the counter. Coffee-maker manuals commonly call for a stable or flat surface; reviewed Nespresso and Breville instructions also specify heat-resistant or fluid-resistant support, while Hamilton Beach tells FlexBrew users to operate the machine on a flat surface away from the counter edge (Nespresso, Breville, Hamilton Beach).
Do not assume a narrow cart is suitable simply because the machine fits on top. Verify its load rating, top material, wheel or foot stability, and behavior while the tank or carafe is removed. Rule it out if brewing blocks the route or sends the cord across it.
05
Rule out locations that create another problem
A coffee station is not useful if it depends on an unsuitable electrical arrangement or ignores heat and moisture.
Beyond cabinet use, check the exact manual for ventilation, clearance, electrical rating, and surface requirements. There is no universal gap that works above or behind every coffee maker. Reservoirs, tanks, levers, hoppers, steam wands, and warming plates create different needs.
A nearby suitable wall outlet is the simplest arrangement. Do not plan a permanent station around an improvised extension cord or power strip. The Electrical Safety Foundation International describes extension cords as temporary and advises matching the cord to the appliance's load, keeping it uncovered and undamaged, and avoiding chained cords (ESFI). The reviewed Nespresso, Breville, and Hamilton Beach manuals permit certain extension cords only when their rating, grounding, and routing conditions are met. If the machine cannot reach an appropriate outlet, check its manual and ask a qualified electrician about a permanent solution.
Reject a position that sends a cord across a sink edge, doorway, walking route, hot surface, or moving cabinet part. ESFI also advises using the ground-fault protection required for kitchen and sink locations and having a qualified electrician address an outlet whose GFCI test or reset does not work (ESFI).
06
Keep the coffee supplies from taking the space back
Once the machine has a workable position, limit what stays around it. A small kitchen coffee station may need only the coffee used regularly, the correct filters or pods, and perhaps the daily mugs. Move the full mug collection, reserve bags, syrups, serving trays, and occasional accessories elsewhere.
If you need small kitchen appliance storage, use an existing drawer or cabinet before adding an organizer. Put reserve supplies farther away and refill the daily amount as needed. If the machine moves to another room, give waste and used pods an obvious return route.
Buy a sliding tray, mat, or cart only after the room test identifies the missing function. It should solve a repeated movement, meet the relevant surface requirements, or move the whole routine without narrowing circulation. Otherwise, it will probably add another layer to the setup.