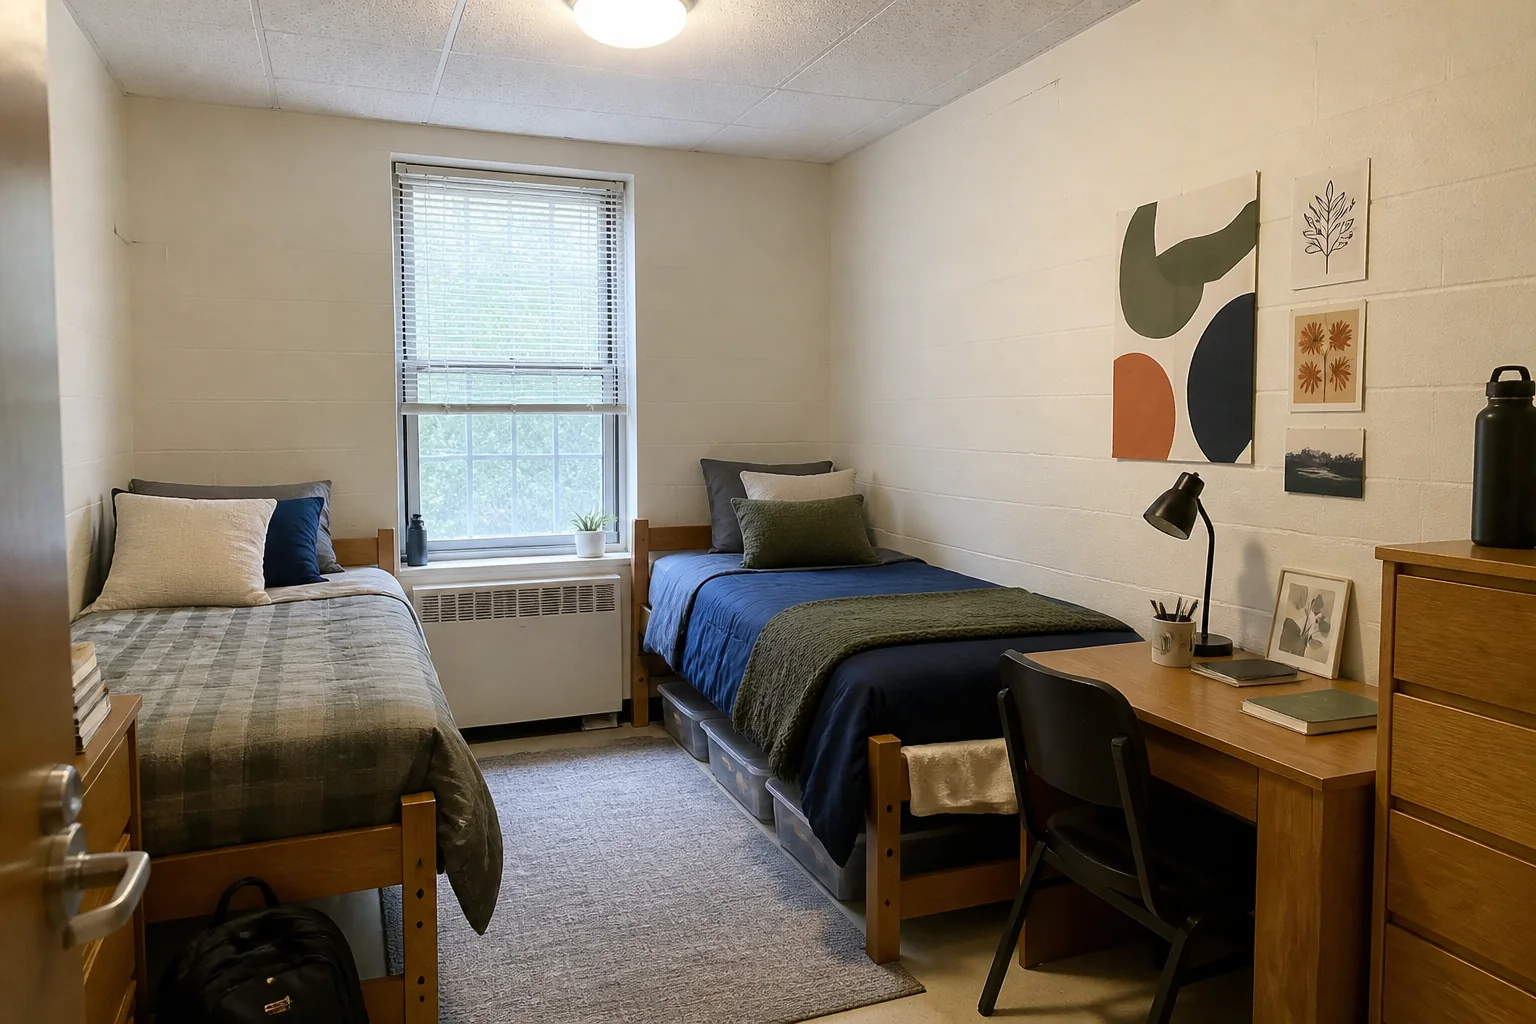
A blank dorm wall can make an unfamiliar bedroom feel temporary. The obvious fix is to order posters, hooks, and a pack of removable strips before move-in. The trouble is that "removable" does not mean approved for your room, and "dorm safe" on a package tells you nothing about the paint in your residence hall.
Check the rule for your building before planning the wall. Identify the surface, choose pieces the permitted method can reasonably hold, and arrange the full group before attaching anything. If the policy is unclear or the paint looks unreliable, leave the wall alone and use the desk, dresser, shelf, or another freestanding surface.
Jump to a section
01
Check the rule for your residence hall first
Dorm decorating rules are local. Universities give opposite advice, and rules can even differ between buildings on one campus.
Texas A&M Residence Life says Command strips and poster putty damage walls in two named housing areas. Columbia Housing, by contrast, permits Plasti-Tak, blue painter's tape, and Command hooks in individual rooms. Oregon State University Housing prohibits Command strips and removable wallpaper but accepts finishing nails, thumbtacks, sticky tack, and painter's tape.
Use the current housing handbook or residence-life page, not another school's packing list or an old student video. Check adhesives, nails, wallpaper, decorative lights, and fire-safety rules. If the policy mentions "approved products" without naming them, ask housing staff before buying anything.
02
Match the decoration to the wall
Once you know what is permitted, look at the surface in your room. Painted drywall, glossy paint, cinder block, concrete, molding, tack strips, and supplied bulletin boards do not behave alike. Sort the art as well. Paper prints ask less of a wall than glass frames, mirrors, shelves, tapestries, or lights.
Even an approved adhesive has conditions. The current Command picture-hanging instructions say to wait seven days after painting, avoid wallpaper and placement over beds, and not use the strips for valuable or irreplaceable items. They warn that ignoring the instructions may cause damage.
Housing permission tells you what the building allows. Manufacturer instructions tell you where and how a product may be used. You need both answers. If either one rules out the object you planned to hang, choose lighter art or another display location instead of looking for a stronger shortcut.
03
Plan one complete wall before attaching anything
Choose one visual anchor, usually the bed, desk, or dresser, and decide how much wall the group should occupy. You do not need to fill every blank surface.
Lay the posters and photographs on the floor first. Start with the largest piece, add the smaller ones, and keep the gaps reasonably consistent. A few larger paper prints often have more presence than a wide scatter of postcards, photographs, and tiny frames, while requiring fewer attachment points.
For a grouped display, use the same room-first approach as a corner gallery wall: set the outside boundary and size hierarchy before choosing every frame or fixing each position.
Keep the group clear of sprinklers, smoke detectors, vents, lights, and anything else the housing policy says must remain unobstructed. In a shared room, agree on the boundary between each person's wall area before installation.

04
Use only a method the policy and surface both allow
Strips are not always better than putty, nor is putty always better than a small approved fastener. Use a method that the building permits, the manufacturer lists as compatible with the surface, and the instructions rate for the specific item.
Read the exact package rather than relying on the product family's reputation. Check surface compatibility, preparation, weight limit, placement restrictions, waiting time, and removal direction. Combining unapproved methods does not solve a policy problem.
Keep valuable, heavy, or breakable objects off the wall when a fall could hurt someone or damage the object. A lightweight print can still make a strong focal point above a bed or desk without putting glass or a heavy frame overhead.
For an 18-inch-wide paper print, the WITCOLOR magnetic poster hanger is one concrete example. The selected variation is an 18-inch teak wood hanger. Its images show magnetic top and bottom rails joined by a cord rather than a surrounding glass frame. The listing family has 19 widths from 8 to 36 inches, so choose a rail that matches the print instead of defaulting to the linked size. Its cord still needs an attachment point that your residence hall permits.
05
Leave the wall untouched when the risk is not worth it
Start with the horizontal surfaces already in the room. The guide to bedside alternatives when there is no room for a nightstand follows the same principle: use a suitable surface the room already provides before adding something new.
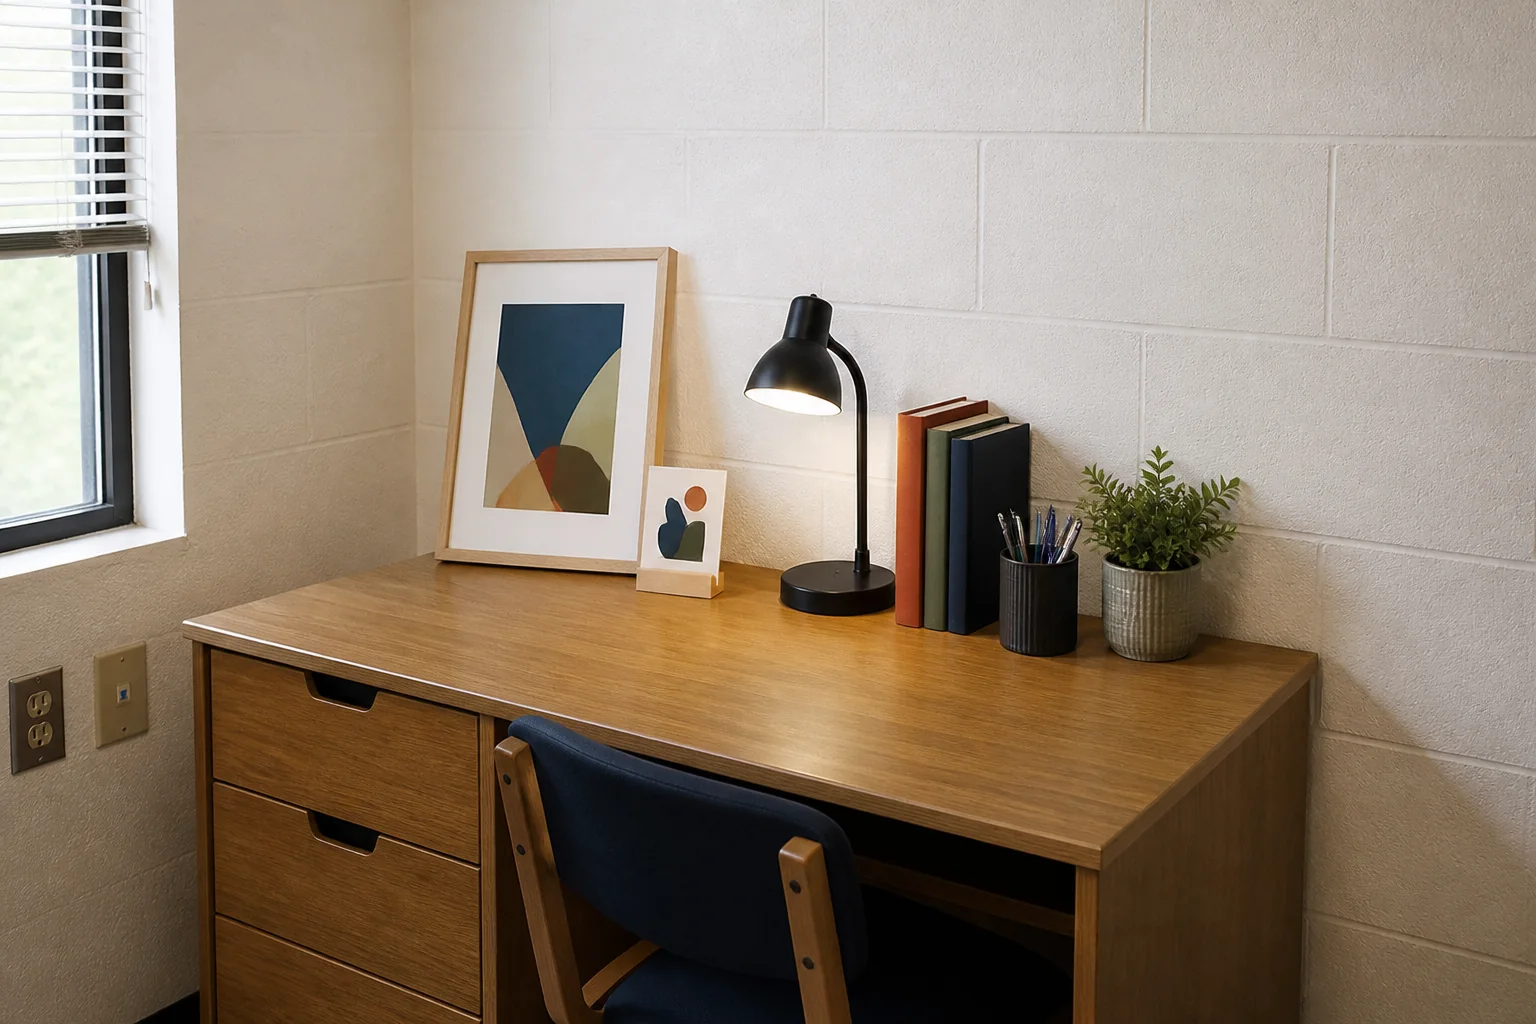
Lean a lightweight frame against the wall on a dresser or desk, provided it cannot slide or interfere with work. A small rigid print or lightweight frame could sit on the six-inch TR-LIFE display stand. The selected black listing is a two-pack, although this arrangement only needs one. Each stand measures 3 by 5 by 6 inches, so it uses much less vertical space than a full tabletop easel.
The listing family has eight sizes from 3 to 16 inches. Choose according to the size and depth of the rigid item rather than assuming the largest stand will be more stable. Loose paper needs a rigid backing, and the seller does not provide a dependable load rating. Put the stand where it will not tip, obstruct the desk, or interfere with a drawer.
If the room includes a shelf, molding rail, tack board, or another display feature, use it only as the housing policy intends. A dresser display should not block drawers or fall when the surface is used. An over-door piece should not catch the frame or obstruct a closer. A floor-standing item should not narrow the route between the bed, desk, and door. The same route-first test helps when a narrow entryway cannot hold a console table.
Repeat a couple of colors, vary the heights, and leave enough room to use the surface. A lamp, a few books, and one leaning print can do more for a desk than a crowded wall kit.
06
Make removal part of the original plan
Before decorating, photograph existing chips, marks, holes, or loose paint and report them through the housing process if required. This records the room's starting condition.
Keep the mounting package and its removal instructions. Some stretch-release products must be pulled in a particular direction rather than peeled away from the wall. Housing staff may need to remove other materials. Follow the current building rule and the instructions for the exact product instead of copying a removal trick demonstrated on a different surface.
Do not assume you can patch a hole, touch up paint, or hide a peeled area before inspection. Report the damage and ask what the housing department wants you to do.